
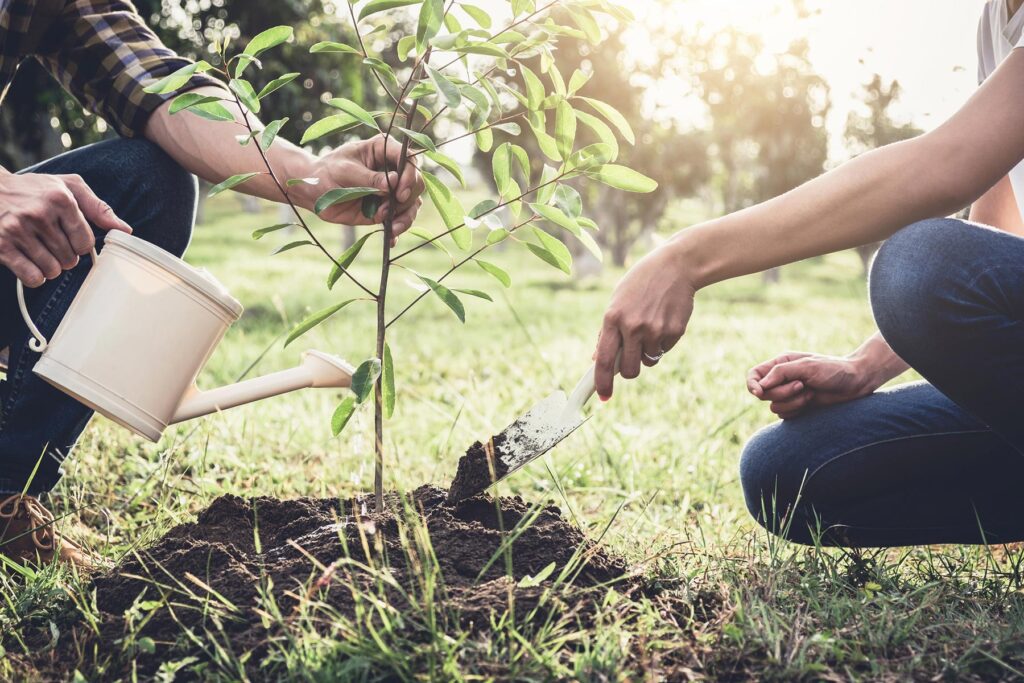
Trees are a vital part of any landscape. They provide shade, improve air quality, enhance property aesthetics, and support local ecosystems. However, to reap these benefits, proper tree installation is crucial. Planting a tree incorrectly can lead to poor growth, disease, or even death, making it essential to understand the process, best practices, and ongoing care.
This guide walks you through the importance of tree installation, preparation steps, planting techniques, and aftercare to ensure your trees thrive for years to come.
Why Proper Tree Installation Matters
Tree installation is much more than digging a hole and placing a sapling in the ground. It involves careful planning, selecting the right species, preparing the soil, and positioning the tree to optimize its health and growth.
Incorrect installation can cause:
- Root damage or girdling roots
- Poor nutrient and water uptake
- Susceptibility to pests and diseases
- Instability and risk of falling
- Stunted growth or early death
By investing time and effort in proper tree installation, you set the foundation for a strong, healthy tree that will provide environmental and aesthetic benefits for decades.
Choosing the Right Tree for Your Landscape
Successful tree installation begins with selecting the right species. Consider:
- Purpose: Shade, privacy, ornamental beauty, or windbreak
- Size at maturity: Ensure there’s enough space above and below ground
- Soil type and drainage: Some trees prefer well-drained soil, others tolerate wet conditions
- Climate compatibility: Choose species suited to your climate zone
- Maintenance needs: Some trees require more care than others
Consulting with an arborist or landscape professional can help you pick a tree that fits your site conditions and design goals.
Preparing for Tree Installation
Before planting, proper preparation is key:
- Locate utilities: Call local services to mark underground utilities to avoid damage.
- Choose planting location: Consider sunlight, space, drainage, and proximity to structures or other plants.
- Prepare the soil: Loosen soil and amend with organic matter if necessary to improve texture and nutrient content.
- Gather materials: Have mulch, stakes, ties, and tools ready.
Step-by-Step Tree Installation Process
- Dig the planting hole:
- The hole should be at least twice as wide as the root ball but no deeper than its height.
- Wider holes encourage root spread, but planting too deep can suffocate roots.
- The hole should be at least twice as wide as the root ball but no deeper than its height.
- Inspect the root ball:
- Remove any burlap, wire cages, or twine around the root ball before planting to prevent root girdling.
- Gently tease out circling roots to encourage outward growth.
- Remove any burlap, wire cages, or twine around the root ball before planting to prevent root girdling.
- Position the tree:
- Place the tree in the hole with the root flare (where roots spread from the trunk) slightly above ground level.
- Ensure the tree is straight and aligned as desired.
- Place the tree in the hole with the root flare (where roots spread from the trunk) slightly above ground level.
- Backfill carefully:
- Fill the hole halfway with soil, then water to settle the soil and eliminate air pockets.
- Continue filling, watering intermittently, and gently tamping soil around the root ball.
- Fill the hole halfway with soil, then water to settle the soil and eliminate air pockets.
- Stake if necessary:
- Support the tree with stakes only if it’s in a windy area or has a weak trunk.
- Use soft ties and allow some movement to encourage trunk strength.
- Support the tree with stakes only if it’s in a windy area or has a weak trunk.
- Mulch:
- Apply a 2-4 inch layer of mulch around the base but keep mulch away from the trunk to prevent rot.
- Mulching conserves moisture, regulates soil temperature, and suppresses weeds.
- Apply a 2-4 inch layer of mulch around the base but keep mulch away from the trunk to prevent rot.
Post-Installation Tree Care
Newly installed trees require attention to establish strong roots and healthy growth.
- Watering:
- Water deeply once or twice a week, depending on rainfall and soil type, for the first two years.
- Avoid frequent shallow watering, which leads to weak roots.
- Pruning:
Remove only dead, damaged, or crossing branches in the first year.- Avoid heavy pruning, which stresses the tree.
- Avoid heavy pruning, which stresses the tree.
- Monitoring:
- Watch for signs of stress, such as wilting, yellowing leaves, or pests.
- Address problems promptly.
- Fertilizing:
- Usually unnecessary at planting if soil is amended, but can be applied after one growing season if needed.
- Usually unnecessary at planting if soil is amended, but can be applied after one growing season if needed.
Common Tree Installation Challenges and Solutions
- Root circling: Often caused by container-grown trees; prevented by loosening roots before planting.
- Planting too deep: Avoid by locating the root flare above ground level.
- Poor drainage: Amend soil or choose species tolerant of wet soil.
- Animal damage: Use guards or fencing to protect young trees.
- Drought stress: Establish a consistent watering schedule during dry spells.
Benefits of Professional Tree Installation
While DIY planting is possible, professional tree installation offers:
- Expert site assessment and species selection
- Proper planting techniques to maximize survival
- Equipment and tools for large trees or difficult terrain
- Post-planting care guidance and follow-up
- Reduced risk of costly mistakes
Professionals ensure your investment grows into a healthy, mature tree.
Conclusion
Tree installation in Red Oak is the foundation of a tree’s life. By selecting the right species, preparing the site, following proper planting techniques, and providing ongoing care, you can ensure your trees grow strong and healthy, enriching your landscape for years to come.
Whether you’re planting a single specimen or establishing a new grove, prioritizing proper tree installation makes all the difference in the success and longevity of your green investment.