
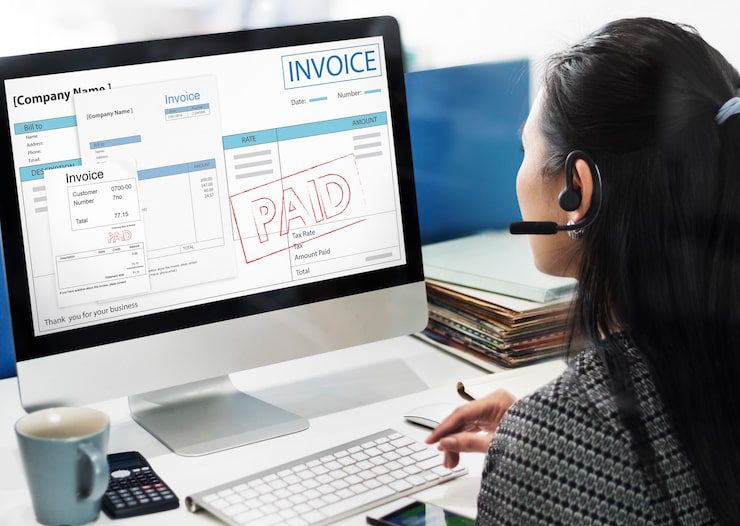
Step 1: Choose an Online Invoicing Tool
Select a platform that fits your needs. Common options include:
(e.g., accounting tools, freelancer platforms)
- Online invoice generators
- Spreadsheet templates with export to PDF
Tip: Look for features like automatic calculations, tax support, and PDF/email export.
Step 2: Set Up Your Business Information
Enter your details, usually at the top of the invoice:
- Business name
- Logo (optional)
- Address
- Phone number
- Tax ID or VAT number (if applicable)
Step 3: Add Client Information
Include:
- Client’s name or company name
- Billing address
- Client email
- Client tax ID (if required)
Step 4: Create a Unique Invoice Number
Assign a unique invoice number for tracking and accounting purposes.
Examples:
- INV-001
- 2026-015
Step 5: Set Invoice and Due Dates
- Invoice Date: When the invoice is issued
- Due Date: When payment is expected (e.g., Net 7, Net 14, Net 30)
-
Use clear and simple invoice layouts.
-
Keep all prices transparent and easy to read.
-
Always double-check client details.
-
Add your payment methods clearly.
-
Include short payment notes or terms.
-
Save a copy of every invoice for your records.
Step 6: List Products or Services
For each item, include:
- Description of the product/service
- Quantity or hours worked
- Rate or unit price
- Line total
-
Ensure all details are correct before sending.
-
Use professional language and clear formatting.
Step 7: Add Taxes, Discounts, or Fees
- Apply sales tax or VAT if required
- Include discounts, professional invoice maker , shipping, or service fees
- Ensure totals update automatically
review the total amount carefully and send the invoice to your client in PDF or email format.
Step 8: Review the Total Amount
Check:
- Subtotal
- Tax amount
- Final total due
Accuracy here prevents payment delays.
Creating an online invoice is quick and easy. Simply choose a reliable invoicing tool, enter your business and client details, and add a unique invoice number. Include the invoice and due dates, list your products or services with prices, and apply any taxes or discounts. Finally, review the total amount carefully and send the invoice to your client in PDF or email format.