
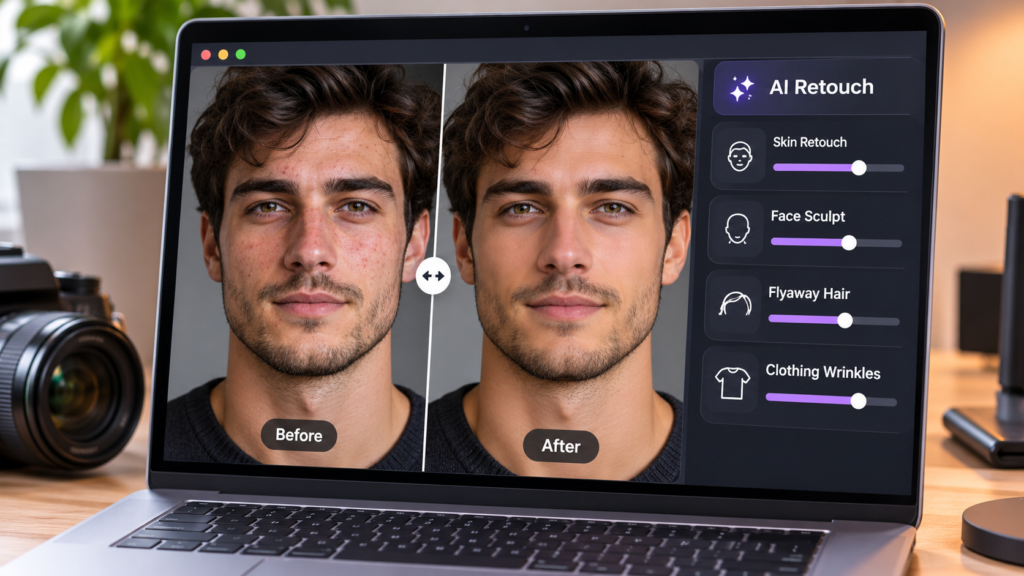
A few years ago, professional portrait retouching meant hours in Photoshop with healing brushes, frequency separation and dodge and burn layers. In 2026, AI does most of that first pass in seconds. The skill has shifted from doing every stroke by hand to guiding the AI and knowing when to stop.
This guide walks through a modern AI retouching workflow, from a single portrait to a full shoot, and explains what to watch for along the way.
Step 1: Choose where the AI runs
The first decision is not which slider to use, but where your photos go. Many AI editors upload images to cloud servers for processing. For client work, that raises privacy questions, and it also means waiting on upload speeds.
Newer tools run AI models directly on your own computer, inside the browser or a desktop app. Photos never leave the device, processing works offline, and there is no queue. If you edit client portraits, this is worth checking before anything else.
Step 2: Fix the basics before the AI touches skin
AI retouching works best on a well-exposed photo with correct white balance. Wrong color makes skin look red or grey, and the AI will try to “fix” it in the wrong way. Set white balance and exposure first, ideally from the RAW file.
Step 3: Run an AI skin retouch, then dial it back
Most AI editors now offer a single skin slider that removes blemishes and smooths skin together. To keep the result natural:
- Start high to see what the AI does, then lower it until the skin still shows pores at 100% zoom.
- Use a “keep detail” or texture control if the tool has one.
- Review blemish removal spot by spot. Moles, freckles and scars are part of a person and should usually stay.
Step 4: Use AI for the tasks that used to take longest
The biggest time savings in 2026 come from tasks that were slow and fiddly by hand:
- Face sculpting: AI adds soft light and shadow to give the face depth and can soften smile lines.
- Flyaway hair: stray hairs around the head and across the face can now be cleaned automatically.
- Clothing wrinkles: creases on shirts and dresses can be smoothed without a manual clone job.
- Skin tone consistency: match skin tone across many photos from one reference image.
Step 5: Scale up with batch editing
AI becomes truly powerful when you apply it to a whole shoot. Edit one representative portrait, then sync the settings across similar photos. Combine it with automatic culling, which flags blurry frames, duplicates and closed eyes, and a 500-photo session becomes manageable in an evening.
Step 6: Check the cost model
AI retouching tools use very different pricing. Some charge credits per exported photo, others require a monthly subscription, and a few sell a one-time license. For a hobbyist, credits may be fine. For a studio exporting thousands of photos a month, per-photo pricing quickly becomes the biggest cost of the workflow.
One example of the on-device, one-time-price approach is Fotoreto, an AI photo editor built by a professional retoucher. It runs in the browser or as a Windows or Mac app, processes everything on your own device, edits 16-bit RAW and includes AI skin retouching with Keep detail, face sculpting, flyaway hair removal and clothing wrinkle removal. Its tools for batch photo editing sync a look across a whole shoot, and Premium is a one-time $19.99 purchase with no credits.
Key takeaways
- Decide whether you want AI in the cloud or on your own device.
- Correct exposure and white balance before retouching.
- Use the AI skin slider, then dial it back until texture shows.
- Let AI handle sculpting, flyaway hair and clothing wrinkles.
- Batch the work across the whole shoot.
- Compare per-photo, subscription and one-time pricing before you commit.
AI has not replaced the retoucher’s eye. It has removed the repetitive work, so that eye can focus on the decisions that matter.