
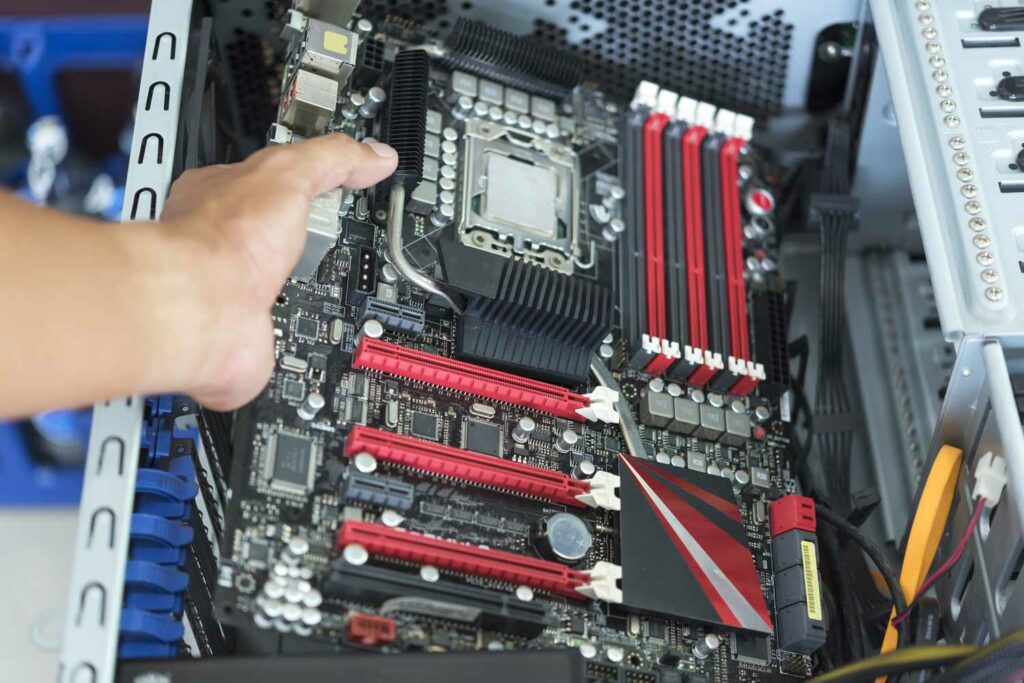
To change the motherboard on your PC, begin by ensuring you have backed up all important data to keep it safe during the process. Next, choose a motherboard that is compatible with your CPU socket and other components, taking into consideration factors like form factor and connectivity options. Gather the necessary tools such as a screwdriver and any additional cables or connectors that may be required for the new motherboard. Power off your PC and disconnect all cables and peripherals. It’s important to document existing connections by taking pictures or notes to assist you during the reinstallation process. Carefully remove the old motherboard by disconnecting cables, unscrewing it, and lifting it out. Install the new motherboard by aligning it with the standoff screws, connecting cables, and securing it in place.
Reinstall any expansion cards and ensure all connections are securely attached. Finally, power on your PC and test the new motherboard’s functionality in the BIOS/UEFI setup. Remember to follow proper grounding procedures and consult the specific instructions provided by your motherboard manufacturer and PC documentation. In the remaining article, we will guide you about changing the motherboard on PC. If you want to know about different motherboards, then there is a buying guide on the best motherboard for Ryzen 5 5600x, read this one.
Backup your Data
Before making any major changes to your PC, such as changing the motherboard, it is crucial to back up your data. This ensures that your important files, documents, and media are safe and protected during the process. By creating a backup, you can avoid the risk of data loss or corruption. You can back up your data by transferring it to an external hard drive, using cloud storage services, or utilizing backup software. Take the time to identify and securely copy all the necessary files to your chosen backup method, providing peace of mind and an extra layer of protection for your valuable data.
Choose a Compatible Motherboard
When changing the motherboard in your PC, it is important to choose a compatible replacement. This means selecting a motherboard that matches your CPU socket type, such as Intel or AMD, and supports the same generation of your processor. Additionally, consider the form factor of the motherboard to ensure it fits properly in your computer case. Check the motherboard specifications for supported RAM type and speed, expansion slots for graphics cards and other peripherals, and connectivity options. By choosing a compatible motherboard, you can ensure a seamless installation and compatibility with your existing components.
Gather Necessary Tools
Before changing the motherboard on your PC, it is essential to gather the necessary tools for the task. These tools will help you remove the old motherboard and install the new one effectively. There is a need of the following tools:
- The primary tool you will need is a screwdriver, preferably one with a magnetic tip to prevent dropping screws.
- Additionally, you may require thermal paste if you need to reapply it when installing the CPU cooler.
- It is also a good idea to have any additional cables or connectors that may be needed to connect your components to the new motherboard.
By gathering these tools in advance, you can ensure a smooth and efficient motherboard replacement process.
Power Off and Disconnect
Before changing the motherboard on your PC, it is important to power off your computer completely and disconnect it from the power source. This ensures your safety and prevents any electrical damage while working on the internal components. Shut down your PC properly and then unplug the power cord from the wall outlet or power strip. This step is crucial in order to avoid any potential risks associated with working on the motherboard, such as electric shocks or short circuits.
Remove the Old Motherboard
To remove the old motherboard from your PC, follow these steps:
- You need to carefully disconnect all cables and components attached to it. This includes removing expansion cards, such as graphics cards and sound cards, by unscrewing them from their slots and gently pulling them out.
- Next, unscrew and detach any cables connected to the motherboard, such as SATA cables, power cables, and front panel connectors.
- Take note of the connections as you disconnect them to ensure correct reinstallation later. Once all cables and components are disconnected, unscrew the screws securing the motherboard to the case.
- Gently lift the old motherboard out of the case, taking care not to damage any other components or cables. Set the old motherboard aside for disposal or storage, depending on your needs.
Install the New Motherboard
To install the new motherboard in your PC, follow these steps:
- Begin by carefully placing it into the case. Align the screw holes on the motherboard with the corresponding standoffs in the case.
- Once aligned, secure the motherboard by screwing it into place using the appropriate screws.
- Next, connect all necessary cables and components to the new motherboard. This includes attaching SATA cables, power cables, front panel connectors, and any other cables required by your specific configuration.
- Ensure that all connections are secure and properly seated. If necessary, install any expansion cards, such as graphics cards or sound cards, into their respective slots. Double-check all connections and ensure they are properly aligned.
- Finally, close the PC case and secure it with the appropriate screws or latches. Your new motherboard is now installed and ready for use.
Reinstall Components
After installing the new motherboard in your PC, it’s time to reinstall the components that were previously disconnected. Begin by reattaching any expansion cards, such as graphics cards or sound cards, to their respective slots. Make sure they are securely inserted and fastened with screws if necessary. Reconnect any cables, such as SATA cables for storage devices, power cables for components, and front panel connectors for buttons and indicators. Pay attention to the proper orientation and alignment of each connection. Double-check that all components are properly reinstalled and securely connected. This step ensures that all your PC’s hardware is ready to function properly with the new motherboard.
Double-check Connections
After installing the new motherboard in your PC and reconnecting all the cables and components, it is crucial to double-check all the connections. You need to do these steps:
- Carefully inspect each connection, such as SATA cables, power cables, front panel connectors, and any other cables specific to your configuration.
- Ensure that they are securely attached and properly seated in their respective ports.
- Verify the alignment and orientation of each connector to ensure a proper fit.
- By double-checking the connections, you can prevent potential issues such as loose connections, poor functionality, or hardware failures. This step ensures that all components are properly connected and ready for optimal performance.
Power on and test
After completing the installation of the new motherboard in your PC and verifying all connections, it’s time to power on the computer and test its functionality. Follow these steps:
- Reconnect the power cord and turn on the PC. As the system boots up, pay close attention to the startup process and any error messages that may appear.
- Enter the BIOS/UEFI setup to ensure that all hardware components, including the new motherboard, are detected properly.
- Check if the CPU, RAM, storage devices, and other peripherals are recognized and functioning correctly.
- Verify that the system temperature is within acceptable ranges.
- Additionally, test the performance of the computer by running various applications or stress tests to ensure stability and proper functioning.
- By powering on and testing the PC, you can confirm that the new motherboard is working correctly and that all components are functioning as expected.
Conclusion
In conclusion, changing the motherboard in your PC requires careful planning and execution. It is crucial to choose a compatible motherboard, gather the necessary tools, and follow the proper steps for removal and installation. By taking precautions such as backing up your data, powering off and disconnecting the PC, and carefully handling components, you can successfully replace the motherboard. Double-checking connections and testing the system after installation ensures proper functionality. Remember to consult manufacturer instructions and documentation specific to your motherboard and PC. With a successfully installed new motherboard, you can enjoy improved performance and compatibility for your computer.