
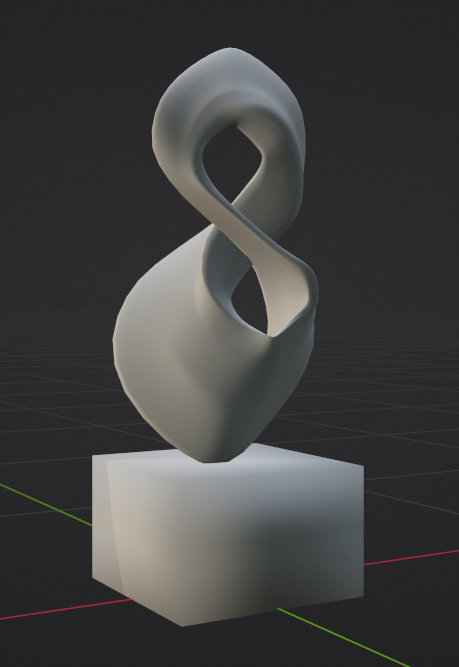
A product photo, a sketch on a napkin, a picture of a handmade prototype — any of these can now become the starting point for a physical object. Image-to-3D tools use AI to infer depth, shape, and surface detail from a flat picture and return a three-dimensional mesh that can be inspected, edited, and, with the right preparation, sent to a 3D printer. The workflow sounds like magic, and the results can genuinely impress, but the people who get the most from it understand what the technology can and cannot know about the side of an object it never saw.
How One Photo Becomes a 3D Mesh
A photograph contains no depth information. When an AI model converts it, it is not measuring the object; it is predicting it. Trained on vast collections of three-dimensional shapes, the model recognises the subject, estimates its volume, and guesses at the hidden surfaces — the back, the underside, the parts the camera never captured. The output is typically a GLB file: a standard format that carries the mesh and its textures together, ready to open in a viewer or an editor.
That guesswork is why the first thing to do with any generated model is to rotate it. The front usually looks convincing because it had a reference; the back and sides are inferred, and that is where odd proportions, melted details, or unexpected textures tend to appear. This is not a flaw in any one tool — it is the nature of reconstructing a solid from a single viewpoint. Tools such as NovaGen3D – image to 3D model generator are built around this reality: generation happens in the browser, the result can be inspected from every angle before anything else is done with it, and a second or third attempt costs only a few minutes.
The Step-by-Step: Photo to Print-Ready File
For most people, the fastest way to learn the process is to try it with a simple object first — a mug, a toy, a small prop — and turn your photos into a 3D model with NovaGen3D to see how a single picture becomes a rotatable mesh. Starting simple teaches you the two skills that matter most: judging a source photo before you upload it, and spotting a weak result before you waste time on it.
The practical route from picture to printer then has four stages. First, choose a good source image — one clear subject, a plain background, even lighting, and as much of the object visible as possible. PNG, JPG, JPEG, and WebP files all work. Second, generate the model and review the full GLB, including the inferred back, before committing to it. Third, decide what the model is for: a game asset needs clean topology and a sensible scale; a print needs a watertight mesh with enough wall thickness to hold together. Fourth, export in the format your next tool expects — STL for a slicer, OBJ or GLTF for an editor, USDZ for AR previews.
Where AI Models Still Need a Human Touch
No generated mesh should go straight to a printer. Before slicing, check that the surfaces are closed, that thin parts are thick enough to print, and that the model sits at the size you intend — a figure that looks fine on screen can be the wrong scale entirely in a slicer. Overhangs and unsupported details need supports arranged in the slicer itself, and parts that should print separately must be split in an editor first; a generation tool does not lay out a print plate for you.
Accuracy also improves dramatically when you give the model more than one view. If you have front, side, and rear photographs of the same object, multi-view generation uses them together and has far less to guess. That is the single most effective upgrade available to anyone whose first single-image attempt came back with a strange backside.
Choosing the Right Tool and Model
Not every generation uses the same engine. Some platforms let you choose between several models — one optimised for fast first drafts, another for finer detail, others for textured or geometry-only output — and the right choice depends on what happens next. A textured model is ideal for a quick AR preview; a clean geometry-only mesh is better when you plan to do the materials yourself in an editor. Look for tools that also offer follow-up steps in the same place: retexturing an existing GLB with a new finish, splitting a model into separately editable parts, and converting exports without installing a desktop application.
Access is usually credit-based: AI generation consumes credits, while viewing and converting files you already own is often free and needs no account. New accounts sometimes include a small welcome balance, though downloading a generated model generally requires a paid plan or credit pack — worth knowing before you plan a project around a free tier.
The Bottom Line
Image-to-3D has lowered the barrier to making things. A single photo can now become a mesh in minutes, and a mesh can become a printed object with a careful afternoon of checking and preparation. The craft has not disappeared; it has moved. Success belongs to the person who picks a good photo, checks the hidden side, and treats the generated model as a strong starting point rather than a finished product.